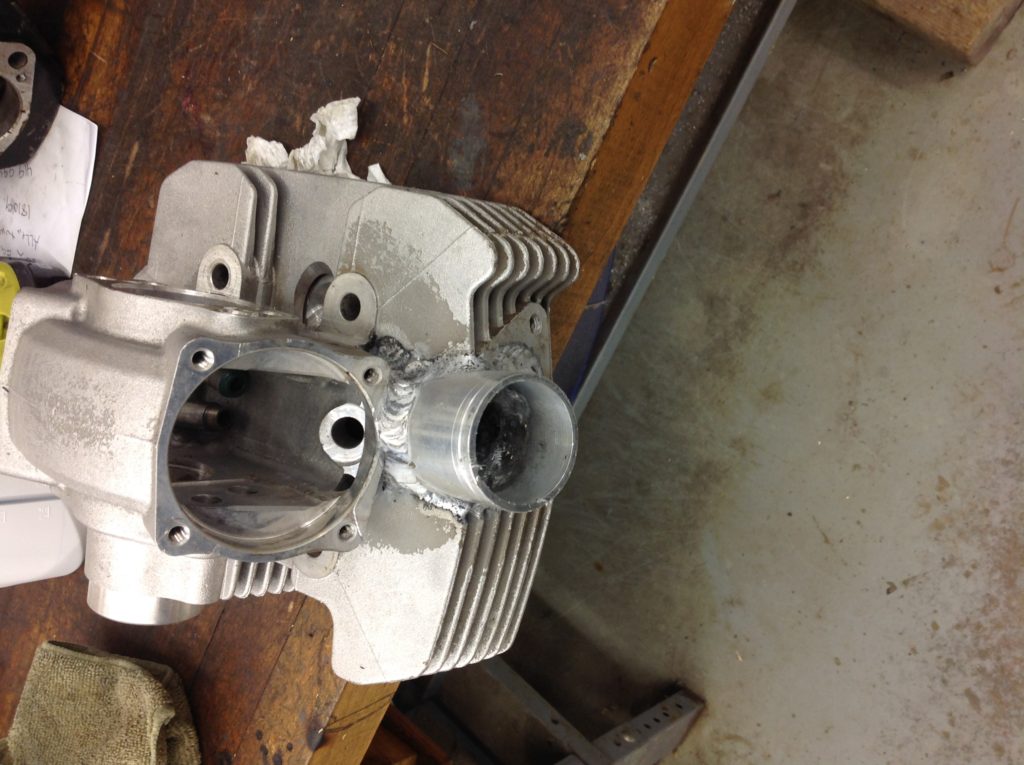
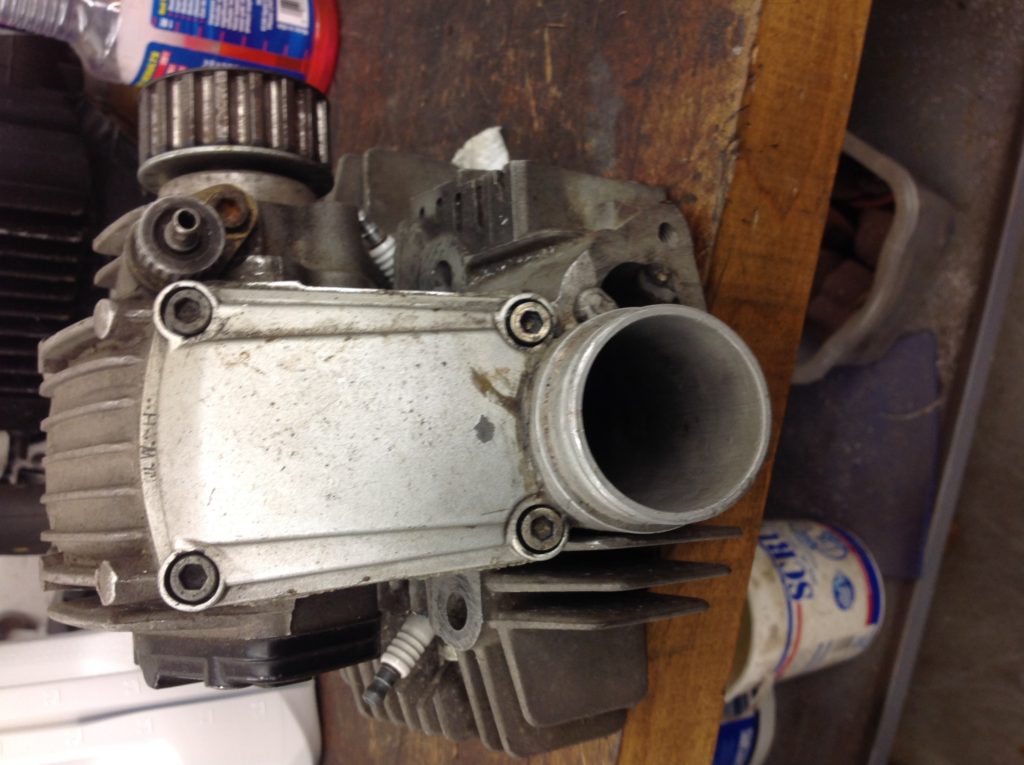
I’ve never had an expensive valve seat cutting machine, would I like one? No, frankly, the real estate one would take up in my rather small shop wouldn’t likely make up for the time savings in cutting valve seats, and frankly, I like to see how much engine work I can get my Bridgeport mill to do. Besides, it’s a lot more fun to see what you can get away with, especially when lots of people tell you how something needs to be done!
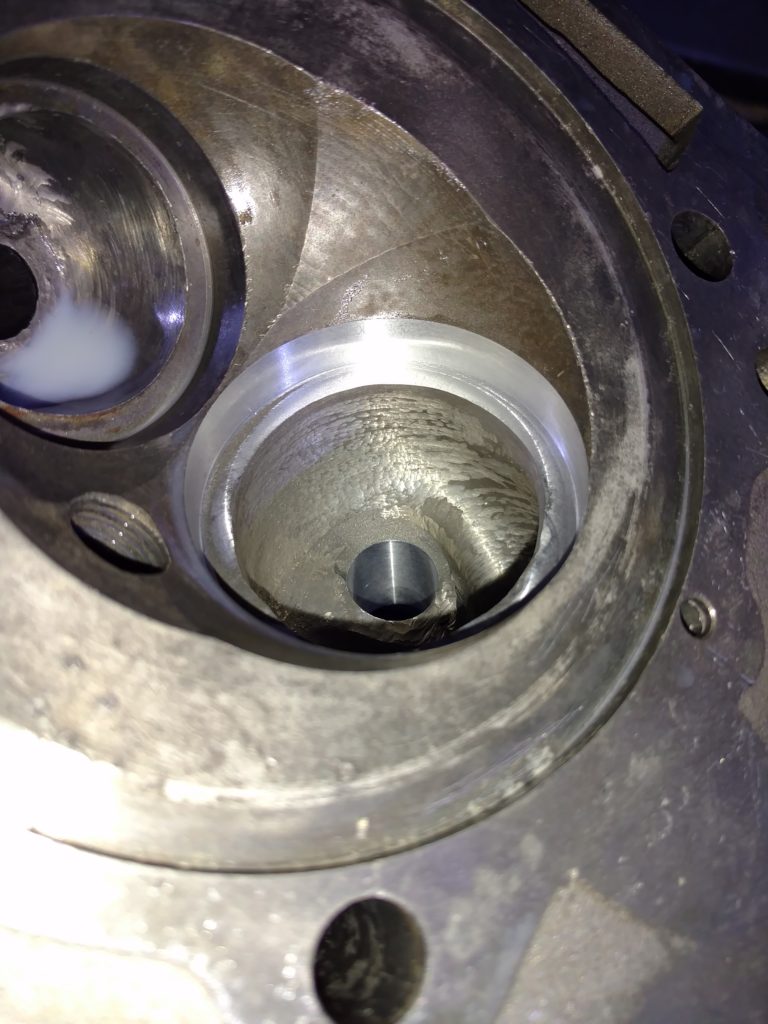
My plan for the seats in the racing Ducati head I’m building is to use 630 bronze, both for its great wear resistance properties, as well as its great heat conductivity. In a racing engine, one of the goals is to get heat from combustion the hell out of the engine post haste, sintered metal seats may have the wear resistance of bronze, but they most definitely don’t conduct heat, and that’ll be a problem here. I designed these seats to use a blended radius instead of a 3, 5 or 7 angle valve job, I didn’t have any particular reason other than I’d like to try it, I can make it happen, and I’ve heard good stories about it.
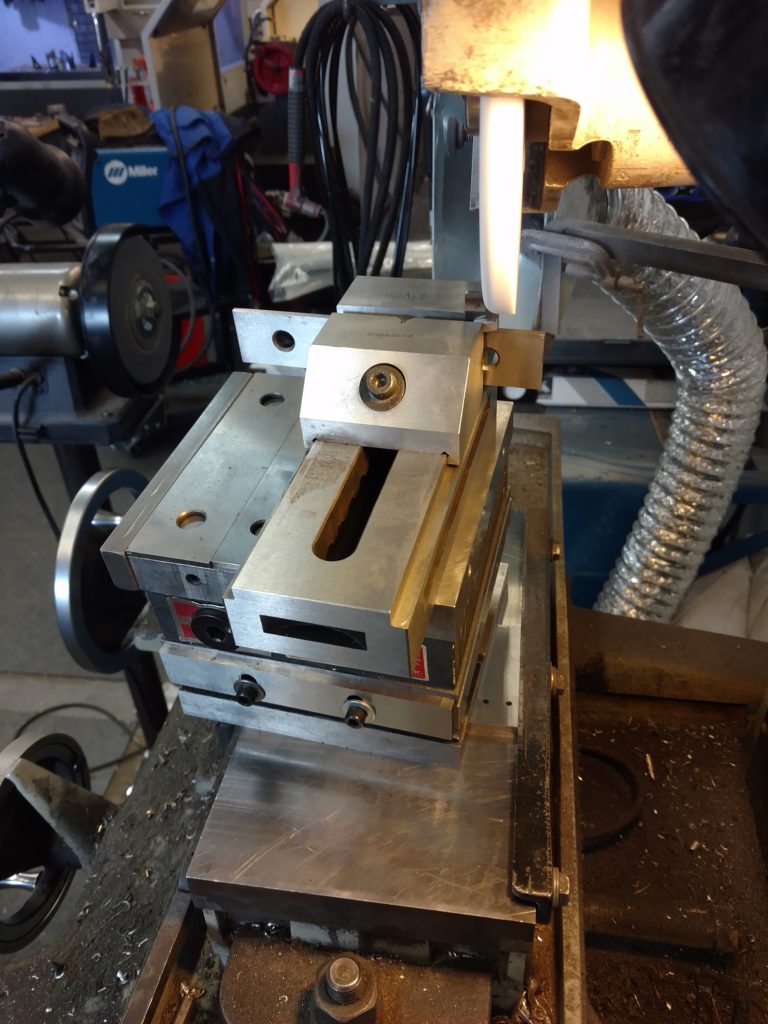
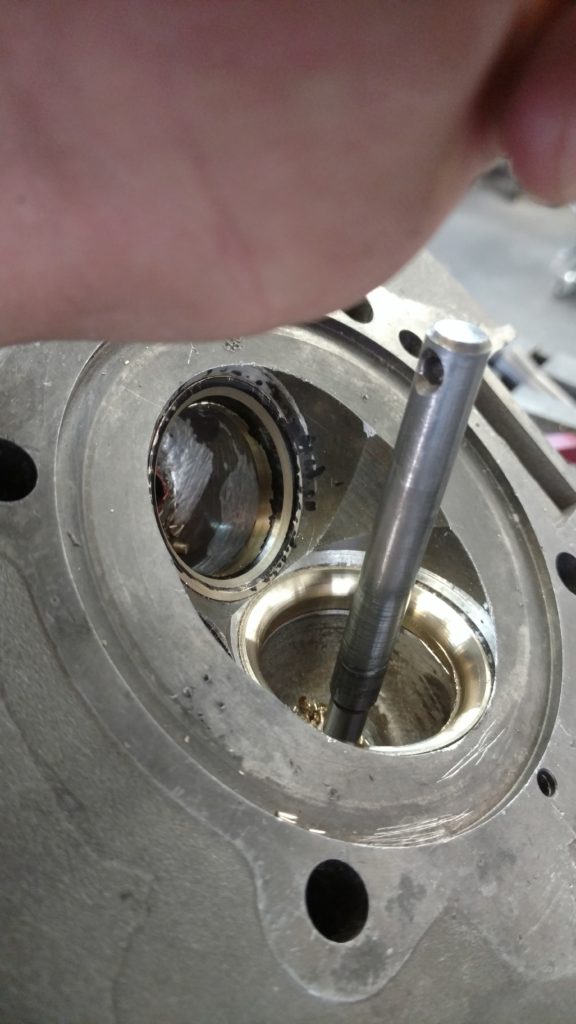
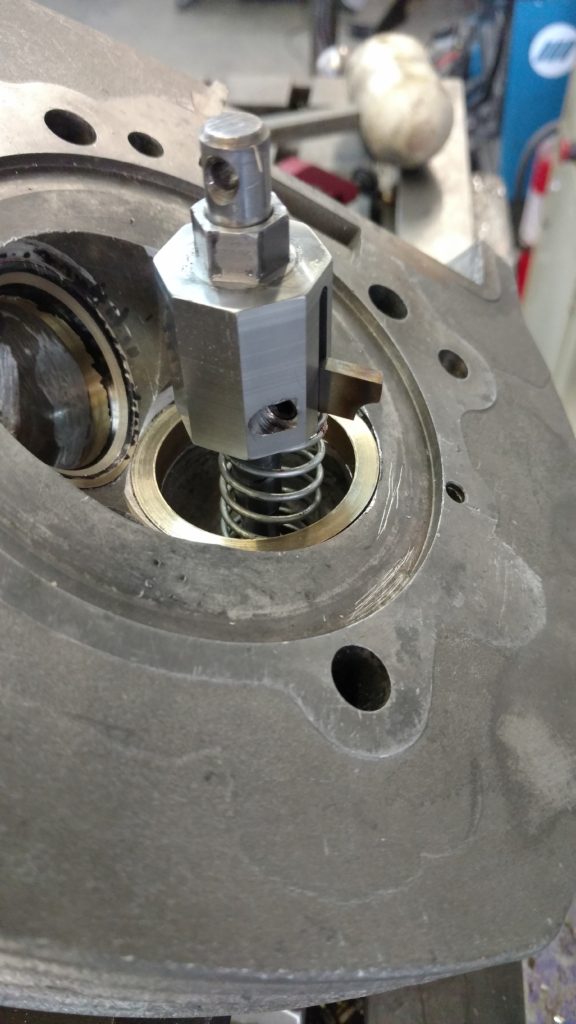
The first challenge was to figure out how big the radius on the valve seat needed to be, for the valve to seat at a proper depth, and to have the 45 degree contact area line up with the middle of the valve face, if I designed the radius wrong, the valve would either seat too deep in the head, or the contact area wouldn’t line up. I used SolidWorks to model the valve and the seat, and made sure that I had a shape that would work. At that point, I needed to translate that into a cutter, you can’t simply cut the seats, drive them into the head, and expect things to line up all nicey nice, so you’ve gotta drive them in uncut, then do all the machine work in place, which ensures both a pain in the ass job, and that things are all concentric with the valve guide bore. I used my surface grinder and some angle chucks, along with a wheel I cut the blended radius into, to make some 7-degree clearance hss cutters for my valve cutting tools (which I made earlier on the mill).
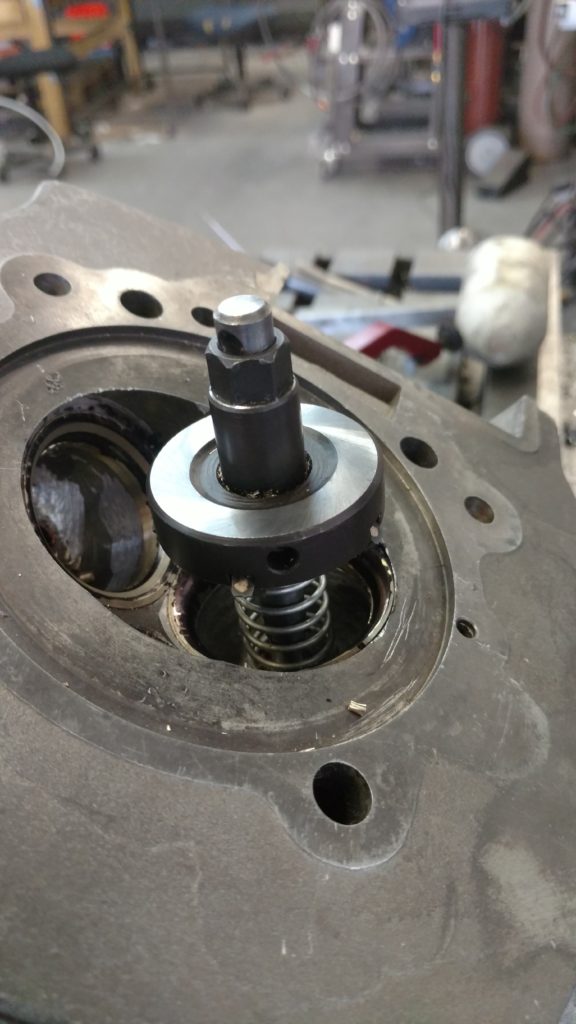
Once the head gets lined up in the mill, the cutters go in on top of a spring and the Z handle is used to do the fine cutting, they really work like a charm and the nice thing is I can grind some new cutters for different size valve seats or different blends or whatever, it’s a great simply DIY system.
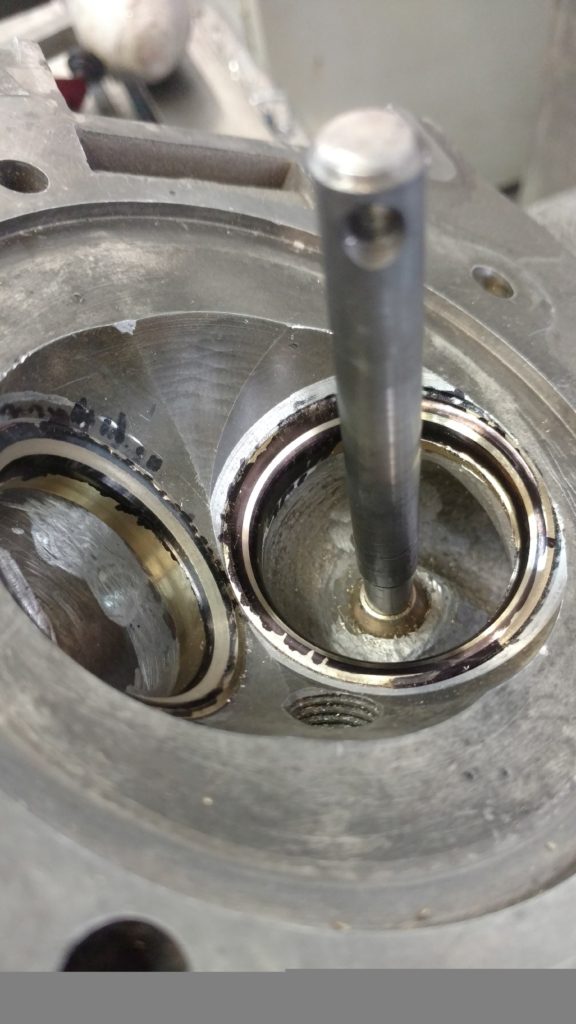
After the blend cut goes in, the 45 degree cutter is used to put the seat contact area in, this 45 degree face mates with the 45 degree face on the valve and ensures good sealing but almost more importantly, good heat transfer from the valve to the head, exhaust valves in racing engines are subjected to extreme exhaust gas temperatures and WILL fail without a good surface to transfer heat from the valve head to the cylinder head.

